Sunny Pancake Sandwiches: A Bright Start to Every Day
Good morning, sunshine! Today, we’re whisking you away on a culinary journey that promises to sprinkle a little extra joy into your breakfast routine. Imagine fluffy pancakes with a heartwarming twist, perfect for those lazy weekend mornings or even as a cheerful after-school surprise. Our destination? The marvelous creation of Sunny Pancake Sandwiches!
Table of Contents
Why Pancakes Are More Than Just Breakfast
Pancakes have been a staple in many cultures, symbolizing warmth, family, and the joy of sharing. They’re not just breakfast; they’re an expression of love, a canvas for creativity, and a reason to gather around the table. And when transformed into Sunny Pancake Sandwiches, they become a beacon of happiness, brightening up any day.
Prepping Your Kitchen for Sunny Pancake Sandwiches
Before we dive into the world of batter and fillings, let’s ensure our kitchen is set for this exciting adventure. You’ll need:
- A non-stick skillet or griddle (for those perfectly golden pancakes).
- Mixing bowls (where the magic begins).
- Whisks and spatulas (your tools to battle lumps and flip with grace).
- Your favorite pancake mix (because sometimes, it’s okay to take shortcuts).
- Ingredients for the filling (more on this below).
Gathering the Sun’s Bounty
Here’s where we encourage our little chefs to don their aprons and chef hats. Our pancake sandwiches will be filled with sunshine, both literally and metaphorically. For our filling, we’ll use:
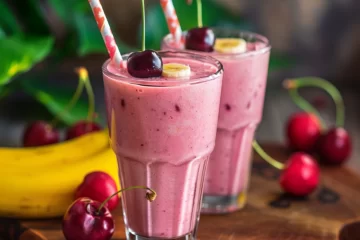
- Fresh fruits (think sunny strawberries, radiant bananas, and cheerful blueberries).
- Cream cheese or yogurt (for that creamy texture that pairs wonderfully with fruit).
- A drizzle of honey or maple syrup (because every bit of sunshine is sweet).
Crafting Your Sunny Pancake Sandwiches: A Step-by-Step Guide
- Mixing the Batter: This is a fantastic moment for kids to take the lead. Let them measure the pancake mix and water (or milk, for an extra fluffy texture) and whisk them together. Encourage them to find joy in the process, even if it gets a little messy.
- Cooking the Pancakes: While the cooking should be overseen by an adult, kids can still be involved by telling you when bubbles start to form on the pancake’s surface—a sign that it’s time to flip.
- Choosing the Fruits: The more colorful, the better. Let your child pick their favorite fruits for the filling. This not only makes the process more interactive but also teaches them about the importance of including fruits in their diet.
- Assembling the Sandwiches: Spread cream cheese or yogurt on one pancake, let your child arrange the fruit slices on top, and then gently place another pancake on top. Voilà! Your Sunny Pancake Sandwich is ready.
- The Art of Eating Together: Finally, sit down and enjoy your creations together. This is a wonderful time to talk, laugh, and plan your next cooking adventure.
Why Cooking with Kids Matters
Engaging children in cooking activities isn’t just about teaching them a life skill. It’s about sparking creativity, instilling confidence, and nurturing a love for healthy foods. It’s about making memories that extend beyond the kitchen. And when you create something as joyful as Sunny Pancake Sandwiches, you’re also building a tradition of happiness and togetherness.
Wrapping Up with a Drizzle of Joy
Our journey to creating Sunny Pancake Sandwiches isn’t just about following a recipe; it’s about embracing the morning light, sharing smiles, and enjoying the simple pleasures of life. So next time the morning feels a bit dull or the afternoon too routine, remember that a little bit of flour, a dash of laughter, and a heap of love can make all the difference.
Here’s to sunny starts and delicious journeys! May your days be filled with the warmth of pancake sandwiches and the laughter of cooking with loved ones. Happy cooking, and even happier eating!

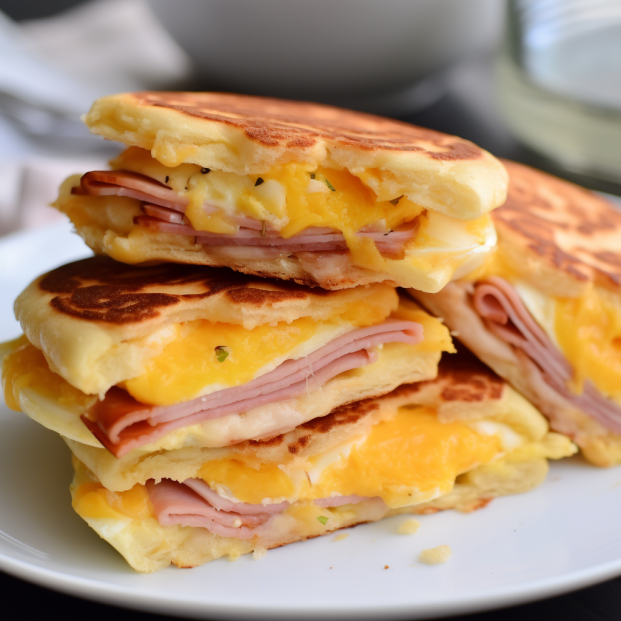
Sunny Pancake Sandwiches
Equipment
Equipment and Ingredient sections may contain affiliate links to items we use and love.
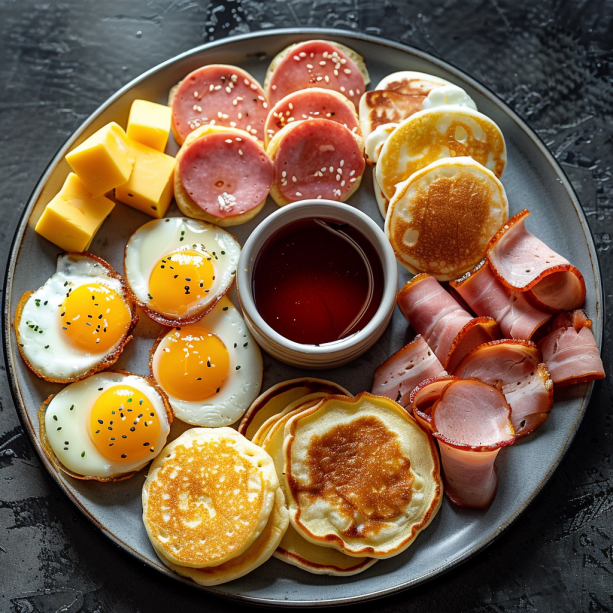
Ingredients
- 8 mini pancakes, store-bought or homemade
- 4 slices of ham
- 4 eggs
- 4 slices of cheddar or your preferred cheese
- This section may contain affiliate links to products we know and love.Maple Syrup, optional
- Butter for cooking
- This section may contain affiliate links to products we know and love.Salt and Pepper
Instructions
- Prepare the Pancakes: If making from scratch, prepare your mini pancakes and set them aside. If using store-bought, warm them as per package instructions.
- Cook the Eggs: In a non-stick skillet over medium heat, melt a small pat of butter. Crack the eggs into the skillet and cook to your desired level (over-easy or over-medium recommended). Season with salt and pepper, then set aside.
- Assemble the Sandwich: On one mini pancake, place a slice of ham, followed by the cooked egg and a slice of cheese. Drizzle a tiny amount of maple syrup if you’d like a hint of sweetness. Top with another mini pancake to form a sandwich.
- Serve & Store: Once the sandwiches are assembled, place them in the lunchbox. You can also wrap them in parchment paper for an added layer of protection.
Notes
Nutrition
Kitchen Gear and Equipment We Use and Love
I just wanted to let you know that some of the links on this page are affiliate links. This means that if you click on these links and make a purchase, I may earn a small commission at no extra cost to you. Rest assured, I only recommend products and services that I personally use and love. Your support through these links helps me continue to create valuable content and keep this blog running. I appreciate your support!

ecozy Countertop Ice Maker, Portable Ice Maker with Self-Cleaning, 9 Bullet Ice Cubes in 6 Mins, 26lbs/24Hrs, Ice Maker Machine with Ice Bags, Handle, Standing Scoop and Basket, Black
$129.99 (as of July 3, 2024 20:42 GMT -04:00 - More infoProduct prices and availability are accurate as of the date/time indicated and are subject to change. Any price and availability information displayed on [relevant Amazon Site(s), as applicable] at the time of purchase will apply to the purchase of this product.)
Country Kitchen 10-Piece Nonstick Stackable Bakeware Set - PFOA, PFOS, PTFE Free Baking Tray Set w/Non-Stick Coating, 450°F Oven Safe, Round Cake, Loaf, Muffin, Wide/Square Pans, Cookie Sheet
$29.99 (as of July 4, 2024 20:46 GMT -04:00 - More infoProduct prices and availability are accurate as of the date/time indicated and are subject to change. Any price and availability information displayed on [relevant Amazon Site(s), as applicable] at the time of purchase will apply to the purchase of this product.)
2 Pack Refrigerator Thermometer, -30~30°C/-20~80°F, Classic Fridge Analog Thermometer Large Dial with Red Indicator Thermometer for Freezer Refrigerator Cooler
$6.99 (as of July 4, 2024 20:46 GMT -04:00 - More infoProduct prices and availability are accurate as of the date/time indicated and are subject to change. Any price and availability information displayed on [relevant Amazon Site(s), as applicable] at the time of purchase will apply to the purchase of this product.)
Mik-Nana Food Scale, 22lb Digital Kitchen Scale Weight Grams and Ounces for Baking Cooking Coffee Package Postage, 6 Units with Tare Function, LCD Display, Easy Clean Stainless Steel (Silver)
$6.99 (as of July 2, 2024 20:16 GMT -04:00 - More infoProduct prices and availability are accurate as of the date/time indicated and are subject to change. Any price and availability information displayed on [relevant Amazon Site(s), as applicable] at the time of purchase will apply to the purchase of this product.)